 So I gave Al his Christmas presents early since I was leaving for our condo in St. Pete Beach at 8:45 the next morning. Among the ultra romantic gifts were a Vegas ornament that makes jackpot slot machine noises, a Gurehg single-pod coffee maker for his office and a toaster (which is romantic for a man who considers blueberry bagels a vegetable serving and eats them more than any other food).
He explained there is an “art to toasting” and then wondered, how can an artist practice his craft when his tools toast unevenly? Despite the kitchen appliance gifting, my most practical gift (and uber-beneficial to us both) were $50 wireless headphones from Brookstone especially designed to work with your television output cables. Now he can watch TV in bed until 3 a.m. and I hear nothing. THEY ACTUALLY WORK.
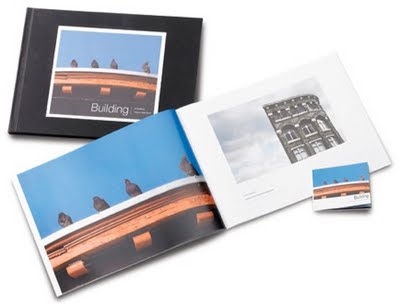
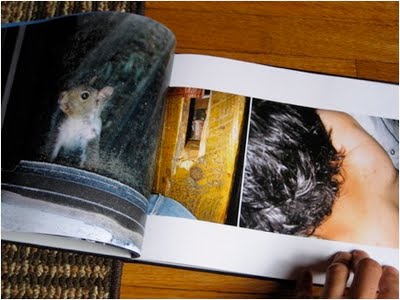
 Seriously though, practical presents are great for a hot second, but my favorite present to give, by far, was from Quigley and me–an iphoto book of all our Quigley pictures as a family over the past year. A book titled “Quigley Puddin’ Gossett.”
If I wasn’t doing the current job I adore, I would start my own iphoto book business where I could montage memories in a book for computer illiterate people or those just short on time. iPhoto books are one of the greatest inventions ever and once you get the hang of creating them, I doubt you will ever get the urge to pick up the scissors and stickers and scrapbook. It’s like wanting to put on an 8-track once you’ve come across the ease of an iTunes library.
 I’m just going to refer to the book as an “iPhoto” book because I am a Mac head. I know there are PC photo book options as well. I just love everything about the iPhoto book, from the title on the binding, to the picture quality, to the presentation of the Apple box when it comes to your door. What a coffee table jewel!
How to create your Memory Book:
1). For iPhoto book creation, there is a wizard in iPhoto to walk you though your first time. There are many layouts to choose from, take your pick.
2). Once you decide on a layout, drag and drop photos onto the different  pages. I always like to put mine in chronological order so I can remember the progression of the vacation or event I’m highlighting. Make sure you edit your photos in iPhoto first, as in removing the red eye, cropping, straightening, matting a shiny forehead, and enhancing color. You are able to decide the amount of photos per page, although each page will auto-generate an amount if you don’t specify.
3). After you drop in your edited photos, write captions underneath to explain the picture or to add some humor. You can also choose the “picture book” option, which nixes the captions if you are feeling lazy and have nothing witty to add to the page (sometimes this happens).
4). After this is finished, go back to the cover and come up with a title. I always save my title to the end because all the pictures that I’ve added give me inspiration for a cool title. Make sure you add the date of the event (so you can flip through it when you are 80 and say, “damn, I looked good back then (insert date). I had so much hair”).
5) Make sure that you go back and spell/punctuation check your album once pictures and captions are added. It is very easy to make errors because the font is kind of small.
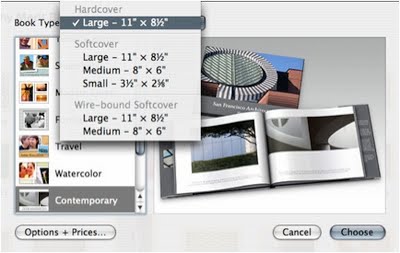
6) Once you are satisfied with the electronic version of your book, choose the “Order Book” button. A prompt will come up and Apple will give you options. I always choose the hard cover book. It will automatically key you up for expedited shipping (the bastards), so make sure you choose the Ground shipping.
Have you ever created an iPhoto book? If so, for what special event or vaca? As always, keep counting.

Leave a Reply